

If a video player does not support a text caption file (e.g. SRT or VTT), the captions can be “burned” into the image of the video so that they are always visible. These are called open captions because the captions are always visible in the video and cannot be hidden.
NOTE: This guide requires the use of MovieCaptioner and QuickTime Pro.
Keep in mind that other captioning solutions do exist, such as the many captioning services employing human transcriptionists, but that these methods will incur additional fees. Captioning services may be ideal, however, when a quick turnaround time is necessary.
Saving a Captioned Video File
- First, create your captions in MovieCaptioner. For instructions on using MovieCaptioner, see MovieCaptioner’s tutorial page or the “How to Use MovieCaptioner” PDF in the Applications folder on your computer.
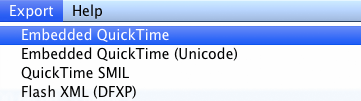
- In MovieCaptioner, go to the Export menu and select Embedded Quicktime.
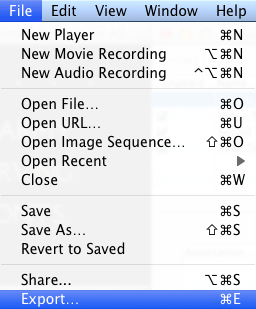
- The video should open automatically in QuickTime. Once it does, go to the File menu and
select Export.
NOTE: By re-exporting the video in QuickTime, you are essentially combining its video track
and text (i.e. caption) track. These tracks need to be combined in order for the captions to be preserved in the streaming video. - The Save exported file as… menu will open. Enter a new file name and/or location for the video
(if you wish to change them from the defaults), and ensure that the Export drop-down menu has Movie to QuickTime Movie selected.
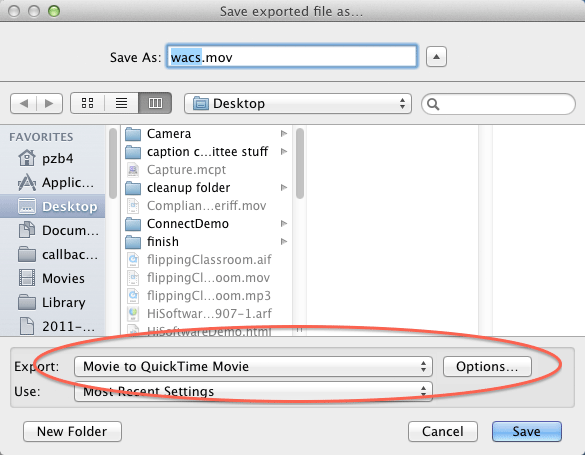
- Click on the Options button next to the Export drop-down menu. In the Video section, select Settings.
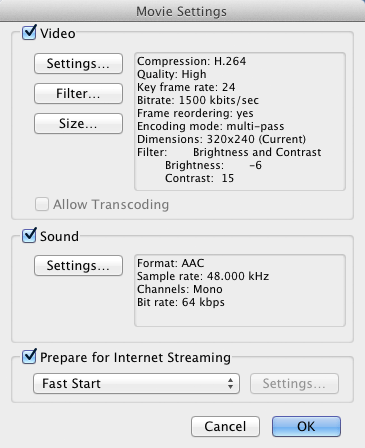
- Make sure that the Compression Type is set to H.264 and that the Quality slider (under the
Compressor section) is set to High or Best. Likewise, make sure that the
Encoding is set to Best
quality (Multi-pass).
NOTE: These settings will optimize the video for the combination of the video and text tracks. - Click OK. Back in the Movie Settings menu, click OK again.
- You will be returned to the Save exported file as… menu. Click Save.