

Word Accessibility Tips
The previous tip on Word Accessibility covered how using heading styles in Word creates a “Clickable Table of Contents” for both screen reader users and for sighted users who open the “Headings Map.”
This entry will cover a few ways to modify the appearance of these headings.
Table of Contents
Contents
Default Blue Heading Styles
The image below shows a set of headings within a Word document about
the mountain laurel (the state flower of Pennsylvania). The title “Mountain Laurel: Pennsylvania’s State Flower” is set as Heading 1. By default, the appearance of Heading 1 is in the Calibri Light font, dark blue and 16 points. The styles Heading 2-Heading 6 are also in various versions of Calibri Light font colored blue.
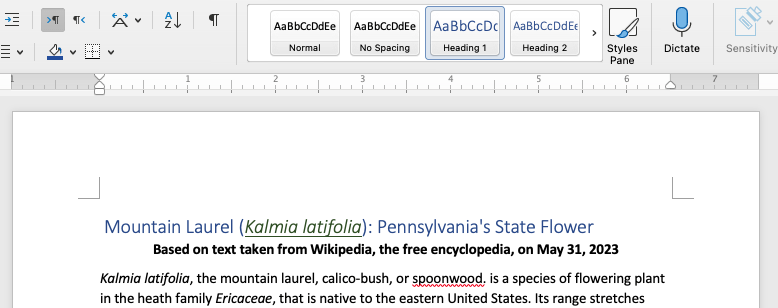
The use of the Calibri Light font blue color is set by default by Microsoft Office … but you can change the default appearance to something more usable for you. This article will provide a few methods.
Ways to Modify a Heading Style
- Modify Style Interface
- Update to Match Selection
Download Exercise File
You can download the exercise file below if you want to follow along.
Heading Level Designation
As a reminder the heading usage is as follows:
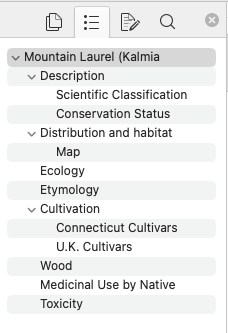
- Heading 1 – Document Title
- Heading 2 – Main Topic
- Headings 3-6 – Nested Subtopic levels
The document uses Heading 1-Heading 3 styles (as shown in the Headings Map) below. In the exercise file, you can open the Headings (Windows) or Document Map (Mac) in the View tab, then use it to jump to different headings.
Open File in Desktop Application
Modifying styles works best when using the Desktop version of Microsoft Word. If you can’t find the appropriate interface, then go to the editing menu above the document and select
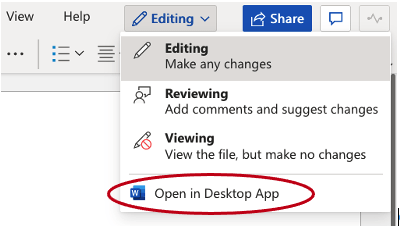
To switch an open Word file to the Desktop version:
- In the Editing drop-down menu located in the upper right, select Open in Desktop App. The Word application opens and then the file will open.
- Continue working on the file using the desktop application tools.
- When you are finished working on the document, save the file and you will be returned to the online Word interface in Office365.
Style Changes
The instructions for this exercise will make the following changes to the styles. Feel free to customize your file as you like.
Changes to Headings
The exercise makes the following changes to the Word heading styles.
- Heading 1 – Calibri, 24 point, black, bold, centered
- Heading 2 – Calibri, 18 point, black, bold
- Heading 3 – Calibri, 14 point, black, bold
Note: In the next tips, we will demonstrate more complex changes to create effects for borders and pseudo textboxes.
Modify Style
In this method, the writer opens the style editor from the style list in the ribbon.
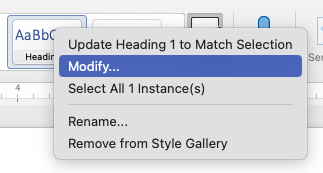
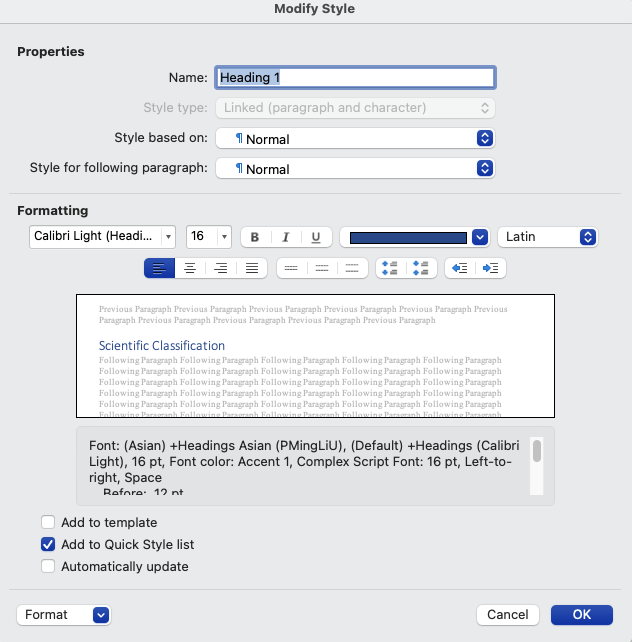
- Right click a style name (e.g. “Heading 1”) from the top menu and select Modify. The Modify Styles window opens.
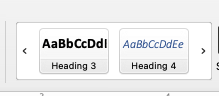
- Use the formatting tools to make the formatting changes, then click OK to save the changes. Anything in that style will change appearance. The visual appearance of the style in the menus will also change.
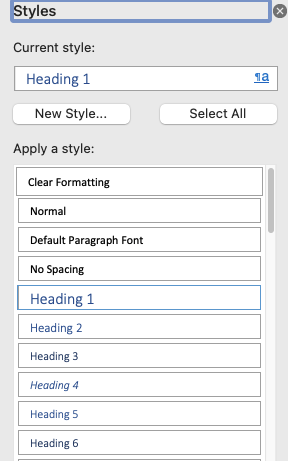
Open the Styles Pane
If you are not able to find a style in the ribbon, you can open the Styles Pane. This is a window on the which lists all the styles used in a document and their specified appearance. To open the Styles Pane:
- Windows – Click the right arrow icon at the
lower right corner of the list of styles in the ribbon. - Mac – Click the Styles Pane icon to the right of
the list of styles in the ribbon.
Update to Match Selection
For this method, you can change the formatting of text in an existing
style, then set the changes as the new format for that style.
- Find a piece of text in a particular style.
- Highlight the entire paragraph, then use the formatting tools to change the appearance of the text.
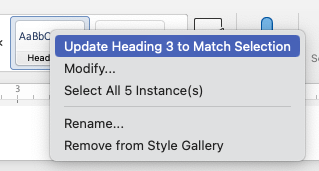
- In the Style Gallery (top Ribbon) or Style Pane (right window) right click on the name of the style (e.g. Heading 2).
- Right click and select Update [Style name] to Match Selection. All instances of that style will be changed. The visual appearance of the style in the menus will also change.
References
Penn State Accessibility – Headings
https://accessibility.psu.edu/headings/
Retrieved May 31, 2023
Customize or Create New Styles (Microsoft)
Retrieved June 14, 2023
Using Word Styles in Best Practices in Accessible Online Design (Cleveland State)
https://pressbooks.ulib.csuohio.edu/accessibility/chapter/chapter-2-5-using-word-styles/
Retrieved June 14, 2023
How to Create a Custom Heading Style in Microsoft Word for Mac (Erin Wright)
https://erinwrightwriting.com/custom-heading-style-in-microsoft-word-for-mac/
Retrieved June 14, 2023
Last Update: June 15, 2023