Page Content
Microsoft Office 365 (2025)
As of Spring 2025, Microsoft Office Desktop and Online can export tagged PDFs from both Word and PowerPoint. See details on the Microsoft Office to Tagged PDF page for details.
OpenOffice
OpenOffice is an open source analogue of Microsoft Office, but sometimes it has some extra options not in Microsoft Office.
Create Tagged PDF in Open Office
First, have a well-structured Word file (using Heading 1,Heading 2 styles and ALT tags on images) or a well-structured PowerPoint file (Image ALT tags, titles on all the slides and using default list tools).
To create the accessible tagged PDF:
- Download and install at OpenOffice.org following instructions on the Web site, if not already installed.
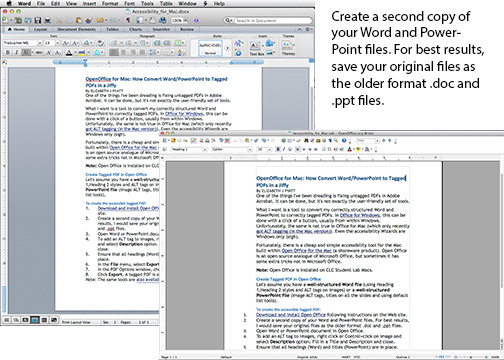
- Create a second copy of your Word and PowerPoint files. For best results, save your original files as the older format .doc and .ppt files.
- Open Word or PowerPoint document in Open Office.
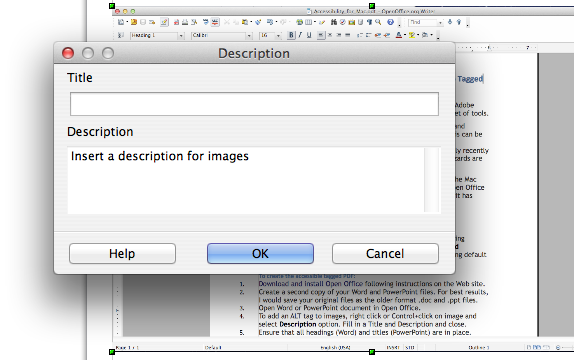
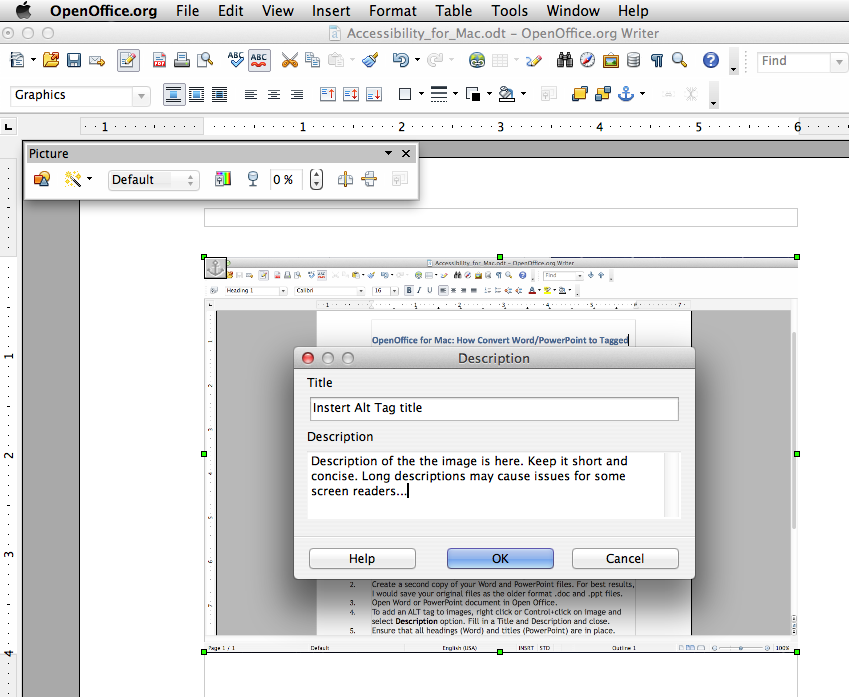
- To add an ALT tag to images, right click or Control+click on image and select Description option. Fill in the Description Field and click “OK.”
- Ensure that all headings (Word) and titles (PowerPoint) are in place.
- Ensure that any tables in the document have the first row marked as a header.
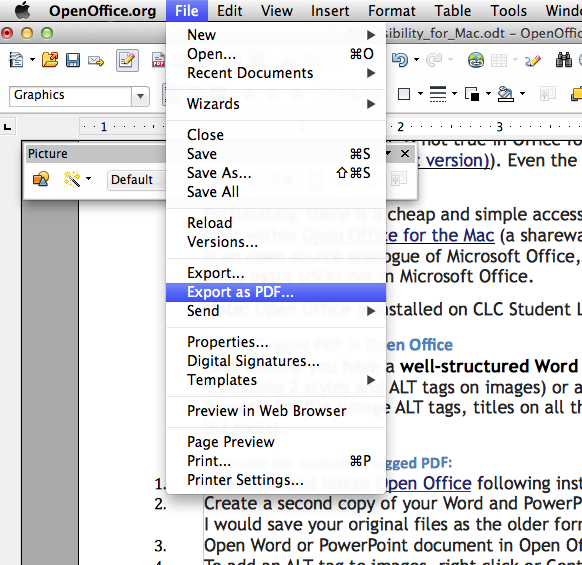
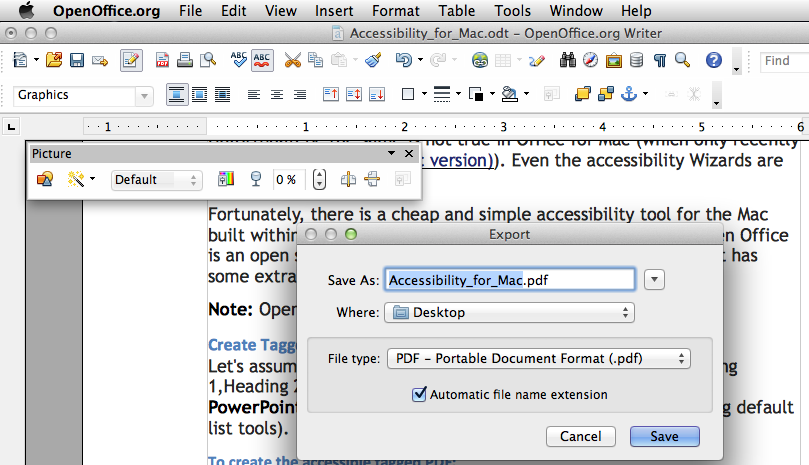
- In the File menu, select Export as PDF.
- In the PDF Options window, check Tagged PDF.
- Click Export. A tagged PDF is exported.
Last Update: May 9, 2025

