

 A certification for this topic is available in the Accessibility Learning Path. The self-paced Canvas course includes detailed how-to instructions and self-check exercises.
Page Content
Some content on this site based on material from Michigan State Web Accessibility and used with their permission.
Synopsis
- When inserting images or charts, be sure to add ALT tags or a description of the image for screenreaders.
- Ensure that all documents use semantic heading styles.
- For long documents, insert or generate a table of contents based on Heading 1, Heading 2, Heading 3 styles. See details in the Quickstart Guides above.
- When inserting a data table, make sure the first row/column is marked as a header and includes a description of the type of data used in each row or column. For very complex tables, a table ALT tag can be used to add extra information for screen readers (see Quickstart Guides above for details).
- For links, avoid using link text such as “Here” or “Click for more.” Instead make sure link destinations are clear outside the context. For example a link saying “Readings for Feb 14” is clearer than “Click here” for the Feb 14 readings.
- Use the list tool instead of the bullet character plus text. Numbered lists with multiple levels should use different numbering schemes on each level.
- Accessibility does NOT equal plain and boring documents. There are tools in Word that help visually decorate and enhance a document, while still optimizing accessibility. In Word, Advanced Text Formatting may be used; some work and some do NOT.
- Text Effects will visually enhance a document without sacrificing screen reader compatibility. For visual effects, remember to address accessibility best practices for Color, Formatting, and Font Layout.
- Clear Formatting is one way to undo altered text.
- There are Formatting Tools to Avoid using, both on PC and Mac Word versions.
Section Heading Styles
Headings are an important tool which allows users on screen reader to efficiently navigate to different parts of a document. In Word, specific Styles are used to mark different heading levels. To ensure that a Word document has the correct heading structure:
- Ensure that all documents include a document title and that it is marked with a Heading 1 style.
- For long documents, use the Heading 2, Heading 3 styles… to break up long text passages into multiple sections. The Customizing Heading Styles page has information to help authors control the formatting of these styles.
- These headers may be preserved and interpreted in screen readers when files are converted to PDF or other formats. The Format : Style menu allows users to adjust the appearance of these tags in a Word file.
NOTE: In some HTML editors like Dreamweaver, Header styles are converted to H tags when the text from Word is copied and pasted into Dreamweaver. - For long documents, insert or generate a table of contents based on Heading 1,Heading 2, Heading 3 styles.
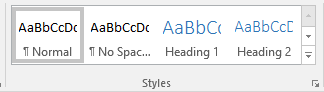
Location of Styles
The Styles options are normally located on the right side of the default toolbar in Windows. See the images below for a view of how their appearance in Windows and Mac.

Keyboard Commands for Styles
Using keyboard commands for styles can make the process of inserting heading styles more efficient. The table below lists relevant commands for Windows and Mac.
Note: Additional keyboard shortcuts are available or can be customized by the user.
Word Styles Keyboard Shortcuts
| Function | Windows | Macintosh |
|---|---|---|
| Heading 1 | Ctrl+Alt+1 | Command+Option+1 |
| Heading 2 | Ctrl+Alt+2 | Command+Option+2 |
| Heading 3 | Ctrl+Alt+3 | Command+Option+3 |
| Normal | Ctrl+Alt+N | Command+Shift+N |
Adding Image ALT Tags
Modern versions of Microsoft Office allow you to add ALT text to inserted images. If these files are converted to HTML, the ALT text is generally preserved. Please visit the Adding image ALT Tags page to see the complete list of steps detailing how to add ALT tags to images for different versions of Microsoft Office.
Marking Table Headers
Microsoft Office allows you to mark the first row of a table as table headers. Please visit the Designating Table Headers page to see the complete list of steps.
Generate Table of Contents
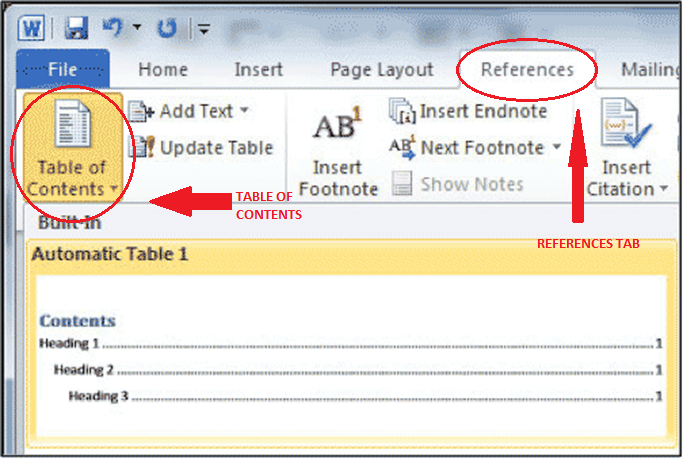
- Go to the References Tab (Word 2010/2013 for Windows and Word 2016 for Mac) or the Document Elements tab (Office 2011 for Mac) in the ribbon at the top of the page.
- Select Table of Contents. You can select one of the automatically generated formats or choose to enter the titles of the sections manually.
Word 2010/2013 for Windows Table of Contents Tool
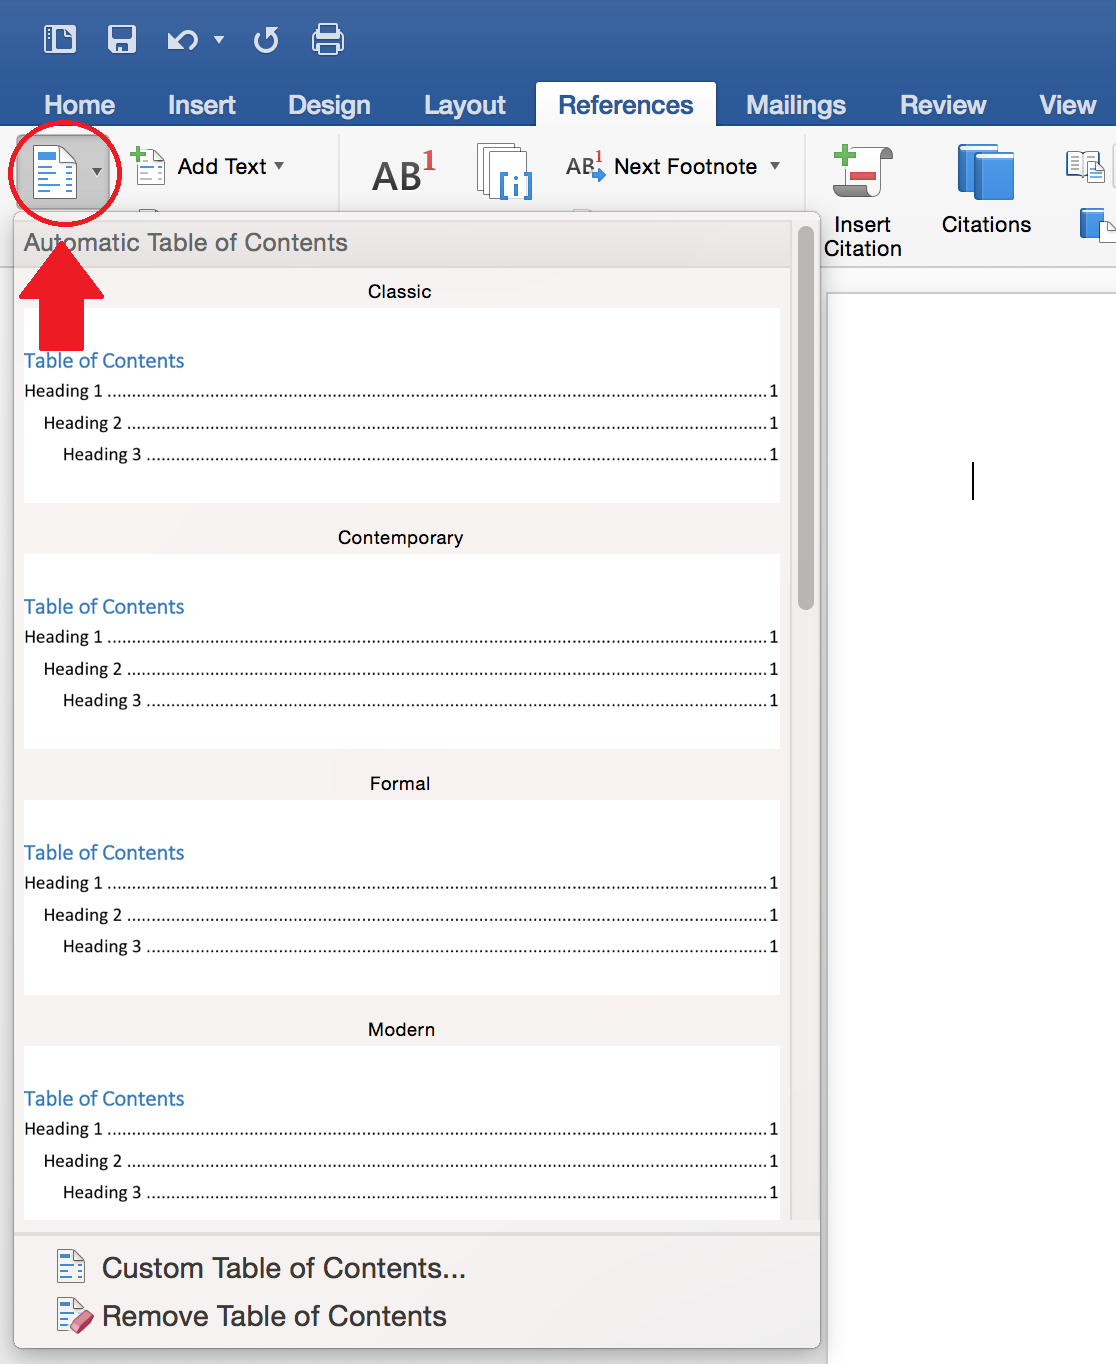
Word 2016 for Mac Table of Contents Tool
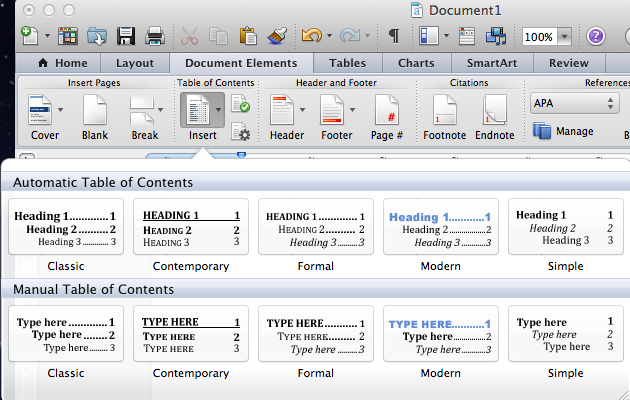
Word 2011 for Mac Table of Contents Tool
Online Office 365
There is no way to make a table of contents in the online version of Word, but the file that’s currently being worked on can be opened in the desktop version by clicking Edit In Word.

Text Effects
- Highlight the content you wish to convert.
- Go to Home tab and Select the Text Effects button.

- This will bring you a drop down menu of preselected colored letters and additional options, Shadow, Reflection, Glow and Outline.

Formatting Tools to Avoid
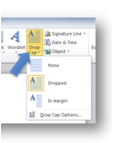
Text Box, Quick Parts, WordArt and Drop Caps are NOT accessible formatting tools in Mac or PC. Do NOT use a formatting tool that places a letter into a Text Box. A screen reader will not recognize this as part of a word to be read.
| Text Box and Word Art button for word 2010 | Text Box and Word Art button for word 2013 | Drop Cap button in PC |
|---|---|---|
 |
 |
 |
Accessibility Checker
The Microsoft Accessibility Checker report can be used to find common errors like missing image ALT text and other issues in a Word document.