

Page Content
Content created in Adobe Captivate can be made accessible if the following procedures are followed.
Choosing a Template
To ensure your Captivate project is as accessible as possible, we recommend starting from a blank template. If a template is needed, it is recommended that the template be tested for accessibility prior to customization.
Video Captions
Any video used in an Adobe Captivate module should be captioned. depending on your resources, you may want to link to a video on a platform which supports closed captions, or you can use MovieCaptioner or another tool to "burn" open captions onto the video so that they are always visible.
See also
Color Contrast and Legibility
Follow color contrast and legibility guidelines for individual screens.
Project Settings
Before starting a project, it is important to activate accessibility preferences under File : Publish Settings. Check the box next to Enable Accessibility. According to Adobe, enabling this setting makes the following elements accessible:
- Project name (derived from Project Properties)
- Project description (derived from Project Properties)
- Slide accessibility text
- Slide label (derived from Slide Properties)
- Buttons
- Playback controls (The function of each button is read by screen readers)
- Password protection (If an Adobe Captivate SWF file is password protected, the prompt for a password is read by screen readers)
- Question slides (Title, question, answers, button text, and scoring report are read by screen readers)
Simply checking this box is not enough to make a Captivate project scenario. It just gives you access to some of the tools you need in order to do so. The following sections provide some further guidance on how to make various Captivate slide elements accessible for all users.
Keyboard Navigation
Tabbing
Users who primarily use the keyboard to navigate web pages would expect that they can tab between various buttons and other interactive objects. In Captivate this is not always reliable depending on which template (if any) you use to create slides, which browser is being used, etc.
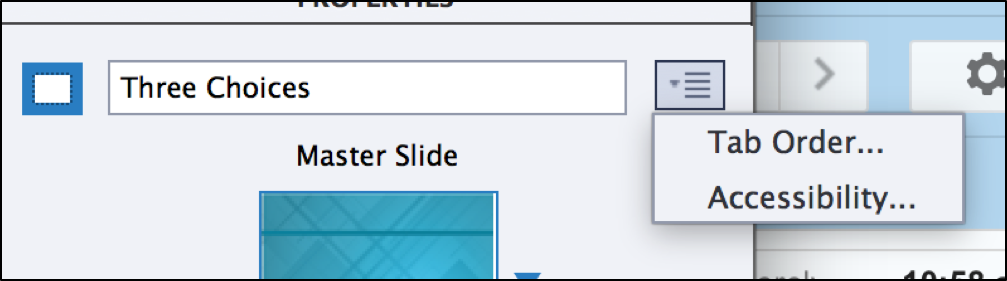
These issues aside, you can specify the tab order of buttons on any slide by accessing the Tab Order… menu next to the slide’s title on the Properties tab.
Keyboard Shortcuts
In addition to tabbing, there are other ways to navigate to and activate interactive objects in Captivate that are more reliable. For example, you can add keyboard shortcuts to any button.
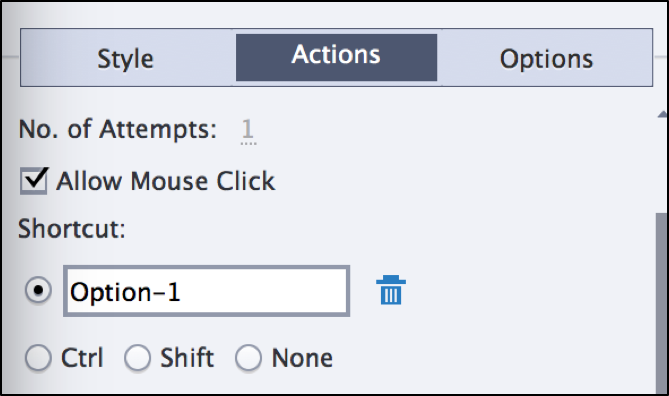
To do this, select a button, and under the Actions tab in properties select the radio button next to the Shortcut text field. Simply press any key(s) you would like to use as a shortcut.
You have to be careful about which keys you use to create shortcuts because many are reserved for other uses when using a screen reader. As an example, in JAWS the numbers 1-6 are used to jump between various heading levels on a page.
For this reason, it is best to use a combination like Alt+1 rather than just 1. If you are thinking about using a particular keyboard shortcut other than Alt+#, check with an accessibility consultant first to make sure it won’t interfere with any other screen reader commands.
You can also review these lists of keyboard commands for popular screen readers to make sure you aren’t choosing any that would interfere:
Visual Focus
In many cases you might have a user who doesn’t use a screen reader by may still need to navigate your Captivate project with a keyboard. How will a user like this know which button is currently selected just by tabbing? You have to add visual focus to selected buttons i.e. a colored border that contrasts well with the background slide.
There is not a way to do this within Captivate while creating a project, but you can add some code to the CSS after you output it. To do this, open your exported Captivate project folder, go to the Assets folder, then CSS, and open the CPLibraryAll file in a text editor. Add the following code to the bottom:
Add Focus CSS
*:focus {outline: #FF0033 solid 3px;

  }

  .cp-frameset:focus {

  opacity: 1 !important;

  background-color: transparent !important;

}
This is just sample code that places a red border around your buttons. You can replace #FF0033 with any color you want. Just make sure it has a contrast ratio of at least 4.5:1 with any buttons and background colors.
Example
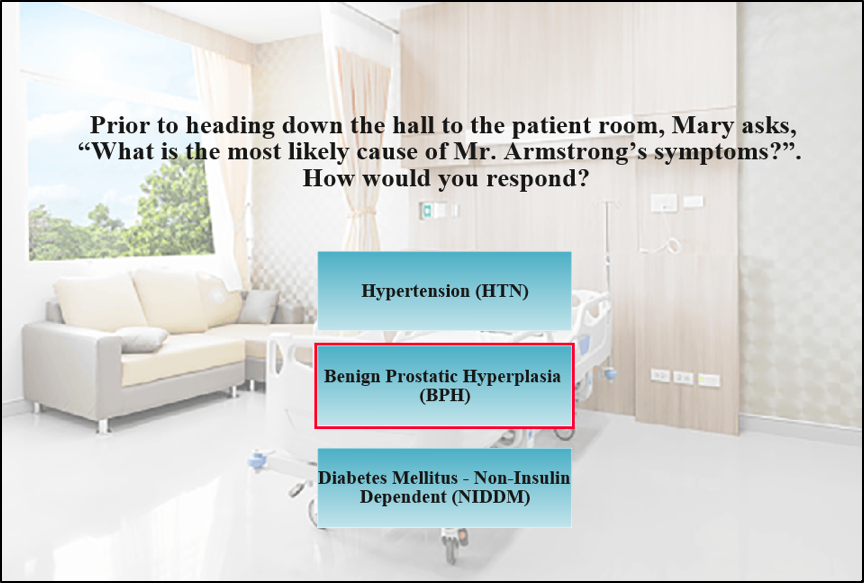
Quiz question from a nursing course. Quiz screen says Mary asks "What is the most likely cause of Mr. Armstrong’s symptoms?" Answer Benign Prostatic Hyperplasia (BPH) is outlined in red.
Screen Reader Support
Read Order
If you can see a Captivate slide, you would typically read the content in the order it is presented from top to bottom. So for example, there may be a title, followed by some text, then a link, more text, and some buttons as seen here:
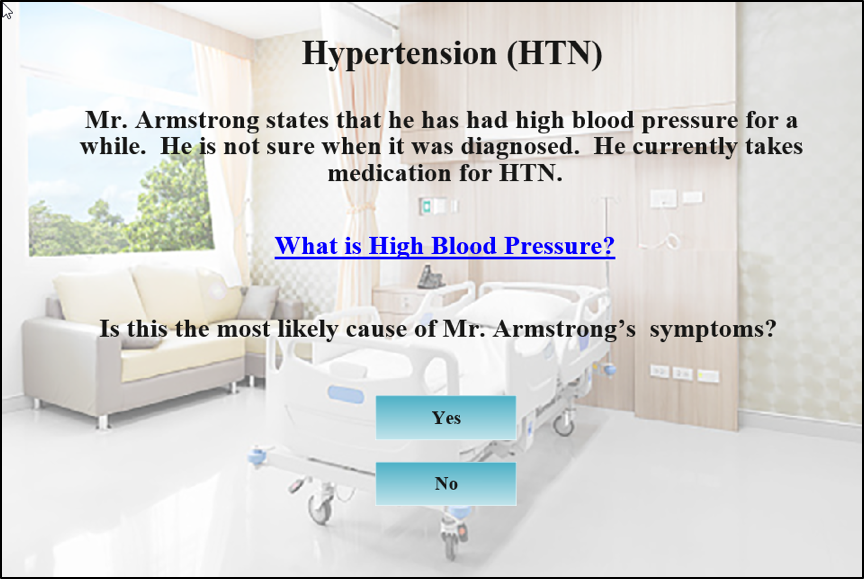
Quiz question from a nursing course. Quiz screen says: Hypertension (HTN): Mr. Armstrong states that he has had high blood pressure for a while. He is not sure when it was diagnosed. He currently takes medication for HTN. Is this the most likely cause of Mr. Armstrong’s symptoms? Buttons for Yes or No follow.
Each of these text components and buttons are their own elements, and depending on how and when they were created in Captivate, they might not be read in the correct order for screen reader users.
For instance, if the invisible box that contains the link was created before the box that contains the slide title, a screen reader might read the link before the title, even though that is not the order they are visually presented in.
For this reason, it is important to plan your slides out ahead of time. Even if you want to add a link to a slide before you know what the title will be, create the elements in the correct order even if you leave them blank for the time being.
Offscreen Text for Screen Readers
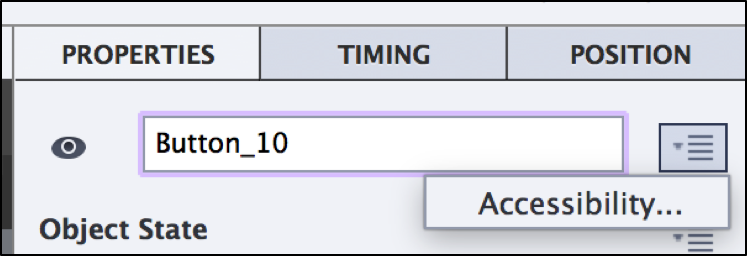
By default, screen readers will not always read the text you may have on a slide. A screen reader user may also need additional information about buttons or images conveyed through text. To make sure a screen reader user can access all slide content, you can add an "Accessibility Name" and "Accessibility Description" to any element on a slide.
Simply click the element (whether it is text, a button, an image, etc.), and open the properties menu. Under the action tab, there is an accessibility menu option next to the element’s name.
From here, you can add an Accessibility Name, which will be different depending on the element:
- Text: Sometimes an accessibility name may not be needed for text, but it could be something like "Slide Title" or "Background Information"
- Buttons: For buttons, the accessibility name should be something simple, like "Button 1" and then the button text
- Images: the name should be short alt text (see the Image Descriptions page in ACC 101 for tips on writing alt text)
- Links: Should be the link text that’s on the slide with the word link add to the front of it. For example if the link is "Additional Resources", the accessibility name should be "Link Additional Resources"
There is also a field to add an Accessibility Description.
- Text: The description for text should simply be the actual text on the slide
- Buttons: For buttons, the description should be additional information a screen reader user would need to know, such as "Press alt+1 to activate"
- Images: This should be a longer description of the image (if needed)
- Links: No accessibility description should be needed for links
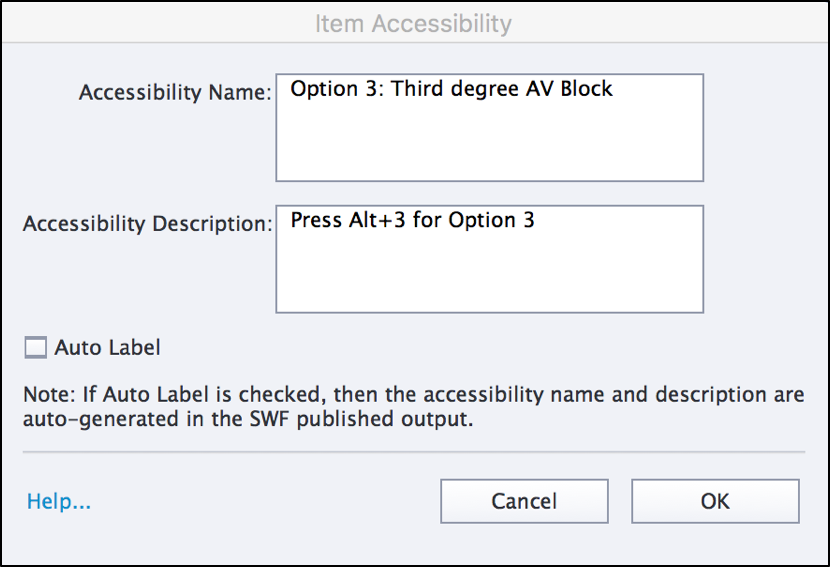
In Item Accessibility, the Accessibility Name is set to Option 3: Third degree AV Block. The Accessibility Description is set to Press ALT+3 for Option 3. Auto Label is unchecked.